A zipper can become damaged for many different reasons. In some cases, a broken slider is to blame. If this happens, you may want to buy a replacement kit, such as Zipper Rescue. Then, you can attach a new slider to your broken zipper. To do this, you will first need to remove the broken slider from your zipper. To do this, you must cut off the zipper’s bottom end.
Fixing a broken zipper with a fork
A broken zipper can ruin a garment, but it’s not too difficult to fix. You can do some quick hacks that won’t require you to buy a new zipper or replace the teeth. Instead, you can fix a broken zipper with a fork or a simple kitchen tool. The trick involves using a clamp to press the fork’s tines together and sliding the zipper into the gap between the bridge and the zipper. When you’ve inserted the zipper, make sure it faces the right way so it can slide smoothly.
Using a fork to repair a broken zipper is a simple yet effective trick. The fork is threaded on the zipper’s teeth, and the zipper pull fits inside the slider. Once the zipper teeth mesh, pull the zipper pull up to close.
Fixing a broken zipper with a prong stop
You can repair a broken zipper by replacing the prong stop. This type of zipper stop fits over the top of the zipper and is easy to install with needle nose pliers. Make sure to get a matching stop for your new zipper. For example, if you have a coil zipper, the single prong should be on the outside, while the double prongs should be on the inside.
First, remove the bottom zipper stop. You can use a seam ripper to remove the bottom stop. Then, place a new one a few inches above the old one. Once the new zipper stop is in place, you can close the zipper and test it by zipping.
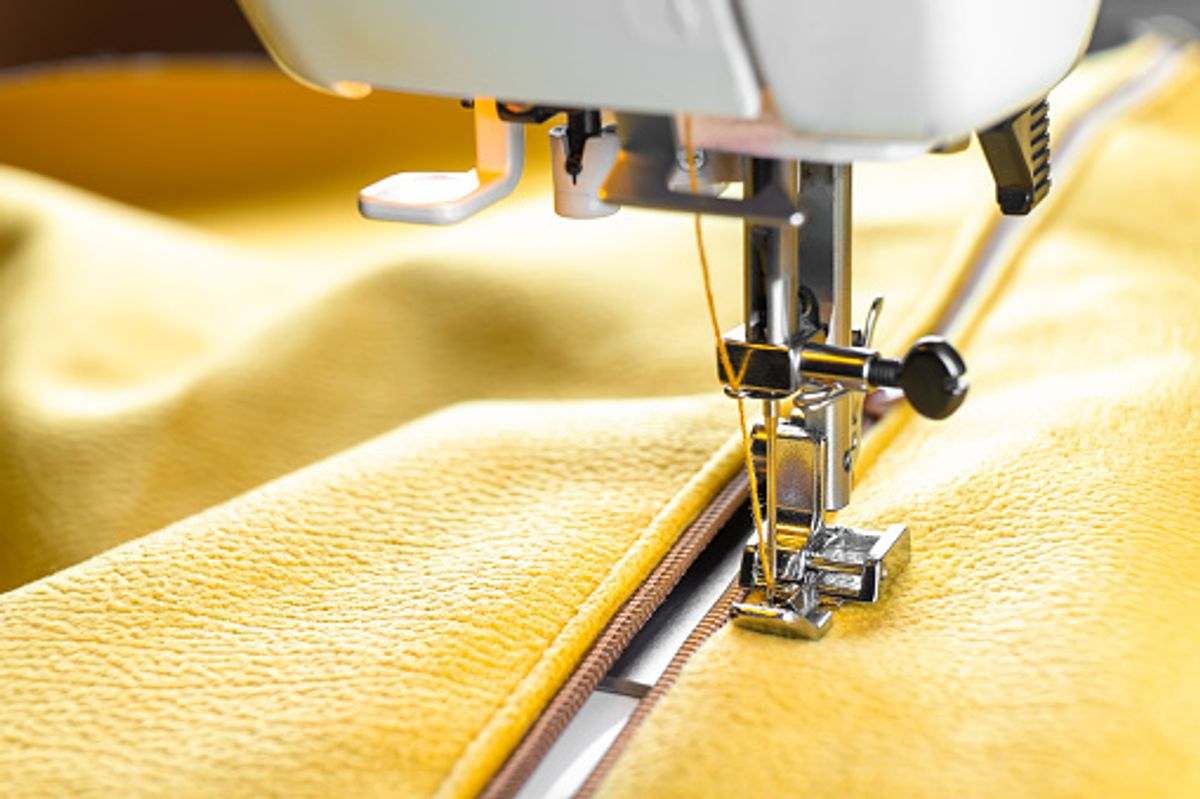
Next, place the new slider over the zipper’s bottom tooth. Make sure to guide the slider’s teeth into the compartments on the new slider. If you don’t see the prong stop, you can try to fix the zipper by stitching it up from the bottom.
Fixing a broken zipper with a slider
To repair a broken zipper, you first need to identify the problem. Next, you can use pliers to remove the zipper teeth, exposing the bottom to two or three inches of tape. Then, take a zipper pull and slide it onto the exposed section of fabric. To ensure you don’t damage the slider, you can use binder clips or small woodworking clamps to hold the zipper in place while it dries. Check the instructions on the glue bottle to see how long you should let it dry. Once the glue is dry, you can test the fix by zipping or unzipping the zipper.
If your zipper has a split section, you can attach the new slider on the top of the zipper. Otherwise, you can attach the slider to the other sewn end of the zipper. First, identify the original site of the slider, where the bottom stop is attached. Then, use tweezers to remove loose threads that may be stuck between the slider and the fabric.
Fixing a broken zipper with a zipper repair kit
Taking apart a broken zipper is easier than you may think. A broken slider or teeth cause most problems. With a zipper repair kit, you can replace these parts. The kit includes the most commonly broken zipper sizes and the necessary sewing tools. Understanding which type of zipper you have can help you choose the best replacement.
First, remove the old zipper slider. You’ll also need a seam ripper to cut off the fabric stitching that has separated the two parts. Next, attach a new zipper slider, with the nose of the new slider facing the top of the zipper.
You’ll also need a pair of pliers. One pair of pliers will help you crimp the zipper stops back into place. You can find new zipper pulls online or use one from a previously used zipper. The zipper pull might take time to reattach, but this method will ensure that your zipper works again.